How to Add a New Course
Each of the instructors will have its personal Admin panel or Profile page.
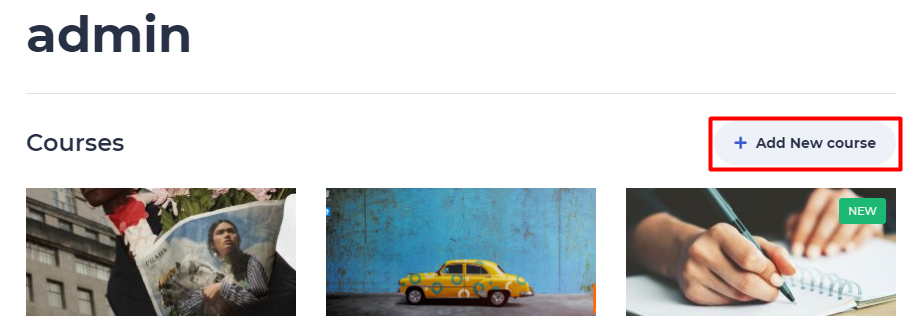
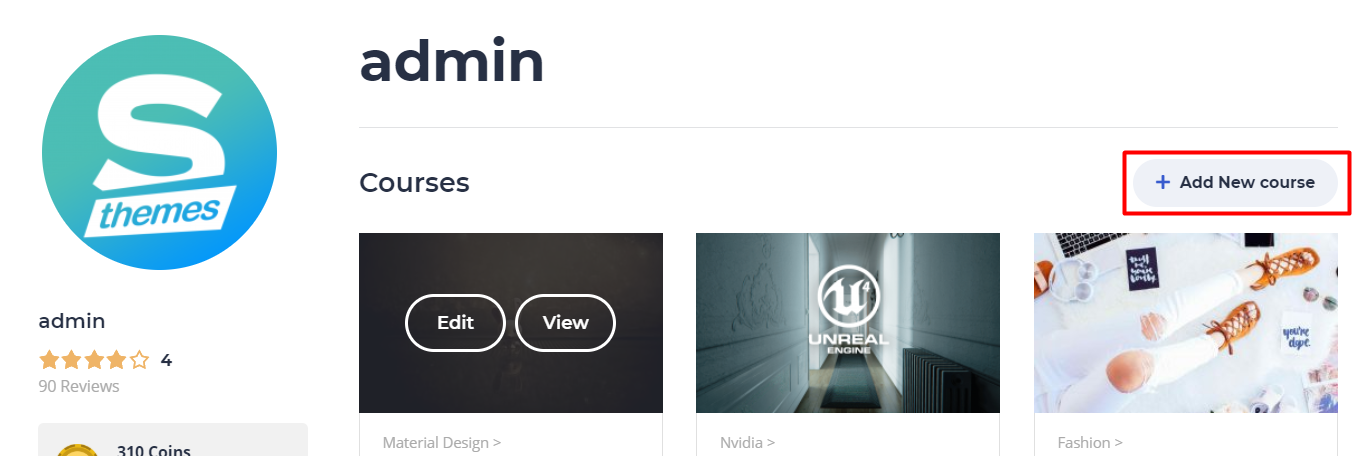
This panel is very easy to use. To add a new course, go to your profile and click the Add New Course button.
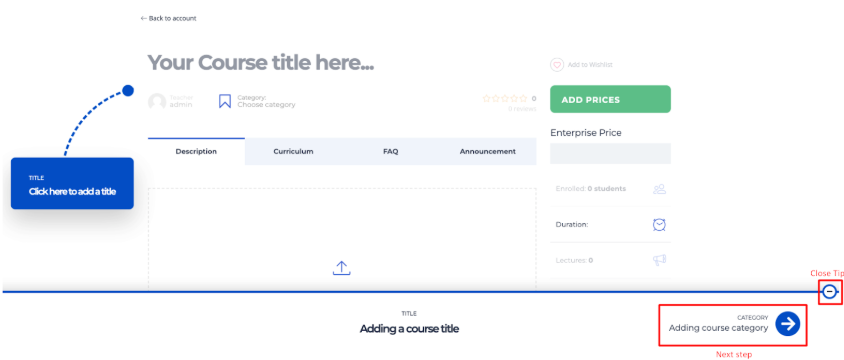
Start filling in the content.
We provided tips for you with a short description of each section to simplify navigation. Switch from one part to another by clicking the Arrow button at the bottom of the page. Click on the Close icon to turn off tips.
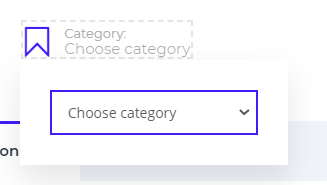
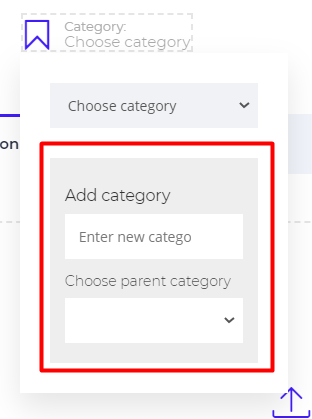
Also, you can add a new category via the frontend course builder.
Reveal the dropdown menu of the Category and choose the option Add new category.
You can add multimedia content to your course, give it a full description, add a featured image.
Here also you can create a proper Curriculum for the course, enter announcements and fill in the FAQ section.
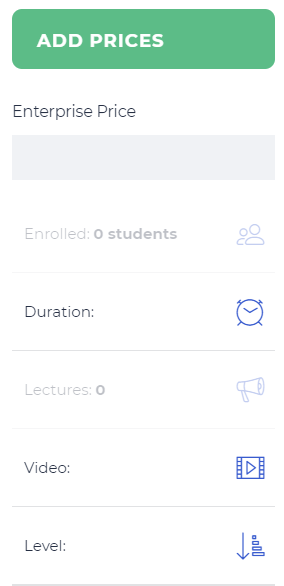
Use the right panel to set the price for individuals and groups, specify course duration and level appropriate.
Add and edit lessons and quizzes
After you entered all the necessary information in the Description part, move on to the Curriculum.
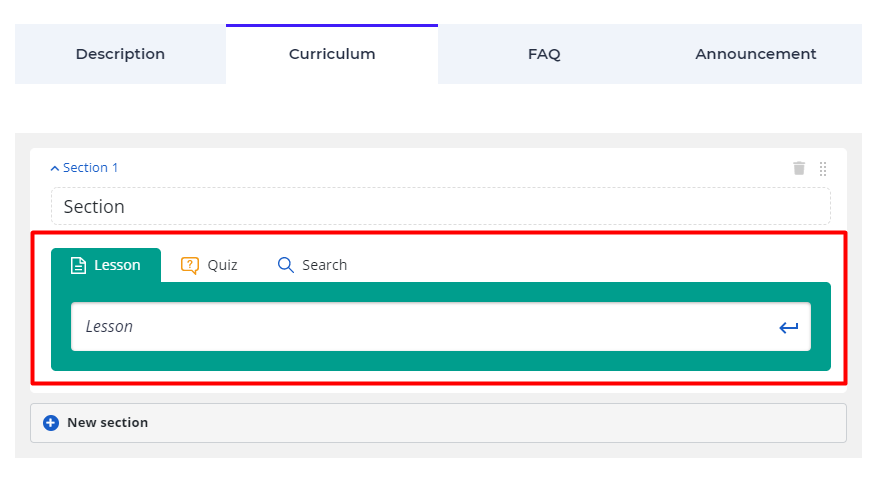
In this sector, you can add and edit lessons and quizzes. Divide lessons into sections, give unique titles to organize your syllabus in the most convenient way.

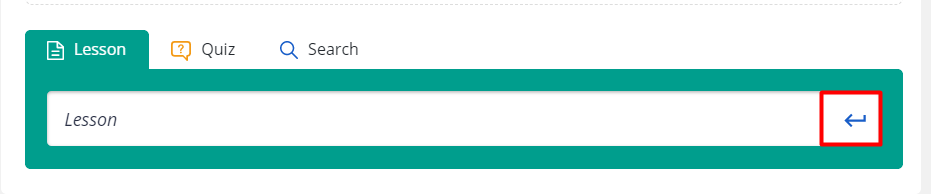
Enter the title for your lesson and click enter to add a new item. The same is applicable to Quiz.
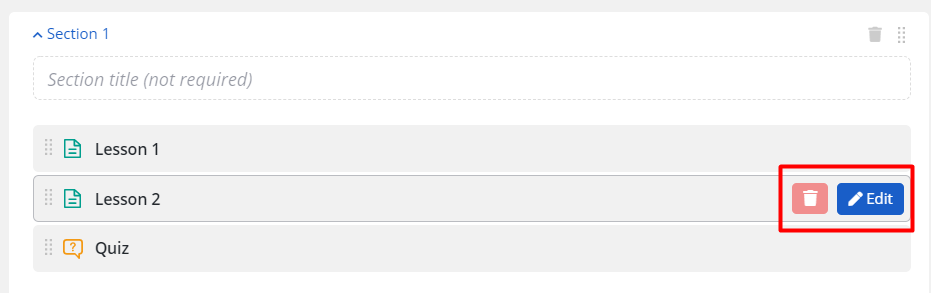
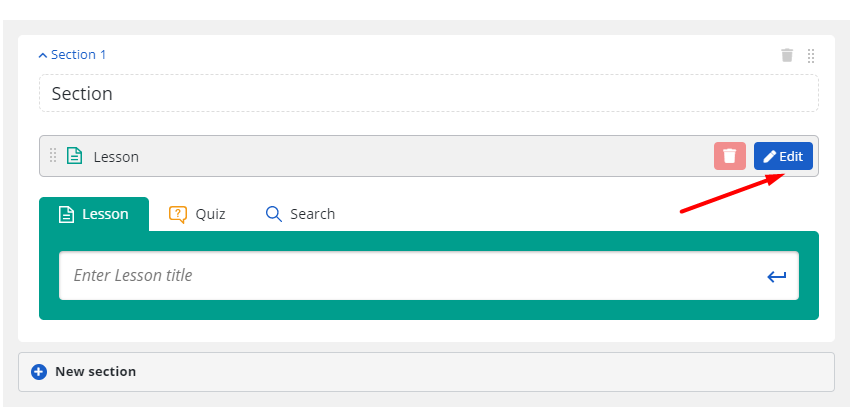
As soon as you create your course plan you will be able to edit and delete information. Work with the list as shown below to apply the required changes.
Choose a lesson you want to edit and click on the Edit icon. Add some content to this lesson, choose any format and insert material.


Open the Lesson Settings. Here you can:
determine the lesson type
upload a video poster
attach video URL
specify the lesson duration
activate preview
write a description

Lesson types available – Text, Video, Slide, Stream or Zoom Conference. Expand the drop-down menu to select an option.

Save Changes, so the settings could be applied.
Edit quiz
Choose a Quiz you want to change and click on the Edit icon. Add the content to the Quiz and make up questions.

Go to Settings, where you can:
Enter a description
indicate the number of percentages* that will be cut down from the total number of points after quiz retake.
specify quiz duration (time format available – minutes, hours, days)
activate the display of correct answers
determine passing grade
*Do not enter the percentage symbol, it is applied by default.

Save Changes and once you finished entering the information, press the Publish Course button to launch a new course.
Curriculum
The Course curriculum includes sections, lessons, quizzes, assignments (available on the pro version, only if the addon is enabled) and a search field.

If you want to divide your course into sections, enter their titles. By clicking on Section 1 you can collapse or expand the section content. On the right side, you can find Delete and Move (organize the order of items) options.

To add a new lesson add its title and click Enter. You can add an unlimited number of lessons.

Quizzes can be added using the same process. Switch to the quiz tab, add the title and click Enter.

The same works for the assignment

Once all items are added you can organize the order, drag and drop the items to set the required sequence of lessons and quizzes.

Items can be deleted and edited. When you hover over the specific lesson/quiz/assignment on the right side the options Delete and Edit appear. Click Delete if you want to remove the item, or click Edit to manage it.

How to add a video to the lesson
Want your lessons to be more exciting? Just add video content to the lesson. It is very easy to do by means of the Frontend Course Builder.
YouTube/Vimeo Video Uploads
Open your Profile page and Select any course/Add new course.
You will be working in the Curriculum section. Find the lesson you need or add a new one and follow to the lesson settings.
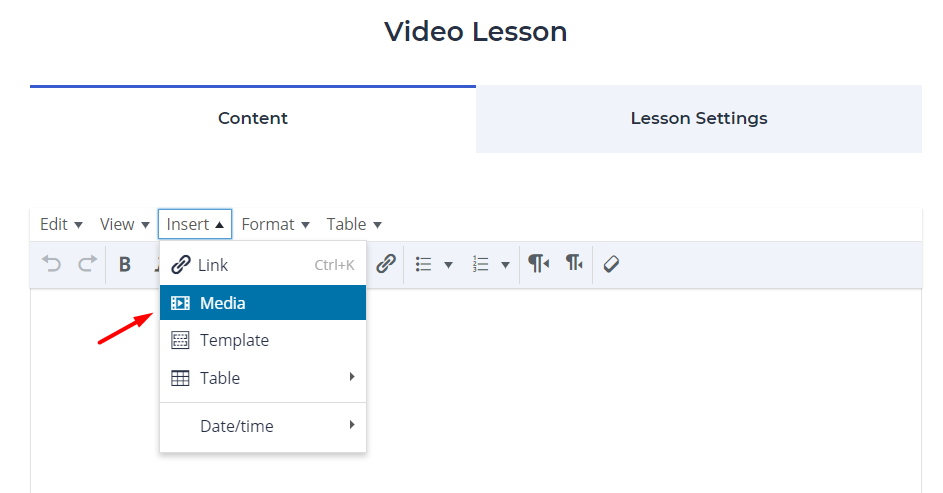
On the Lesson editor page find an empty field under the Content tab. Fill in the information. After this, use the Insert tab on the control panel and select Media from the drop-down menu.
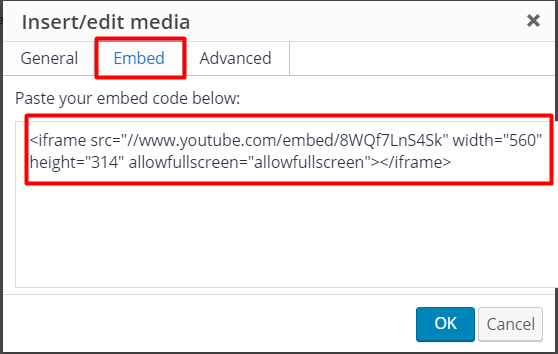
Now you will be offered several options of how to insert media, or video in our case: General, Embed, Advanced.
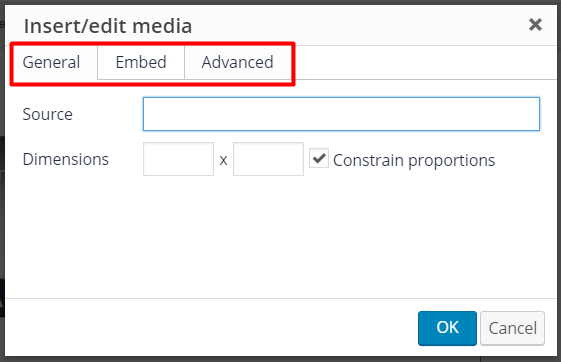
We need the first two options.
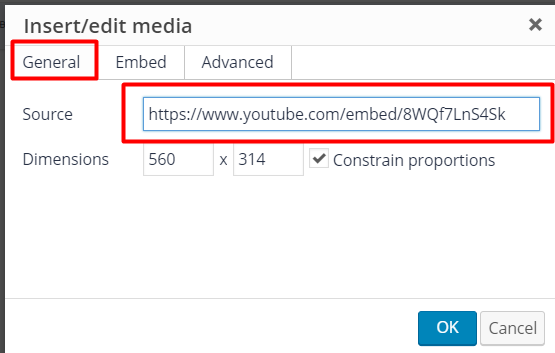
Switch to the General tab. There is a Source box where you need to paste the URL.

*Make sure to use the correct URL for the video.
Follow the instructions on how to copy the URL from the source.
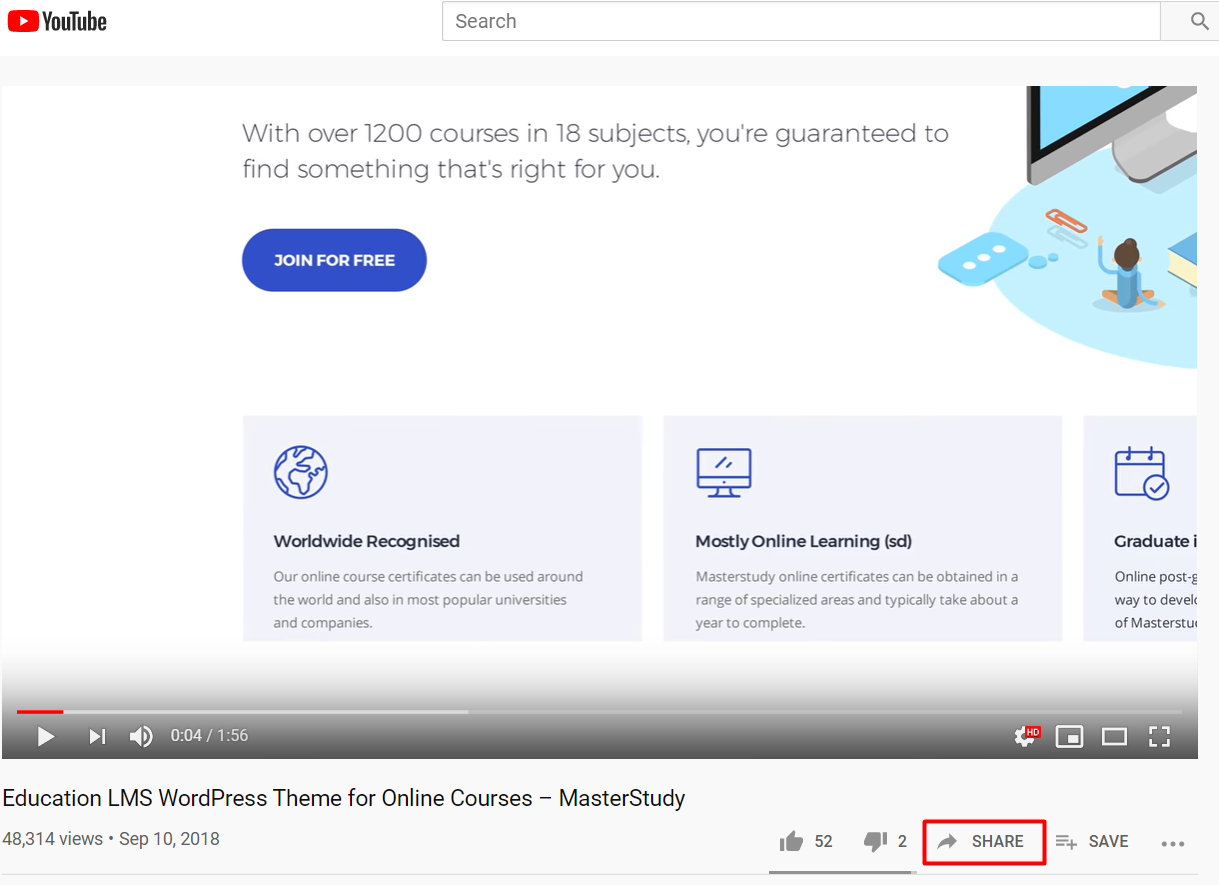
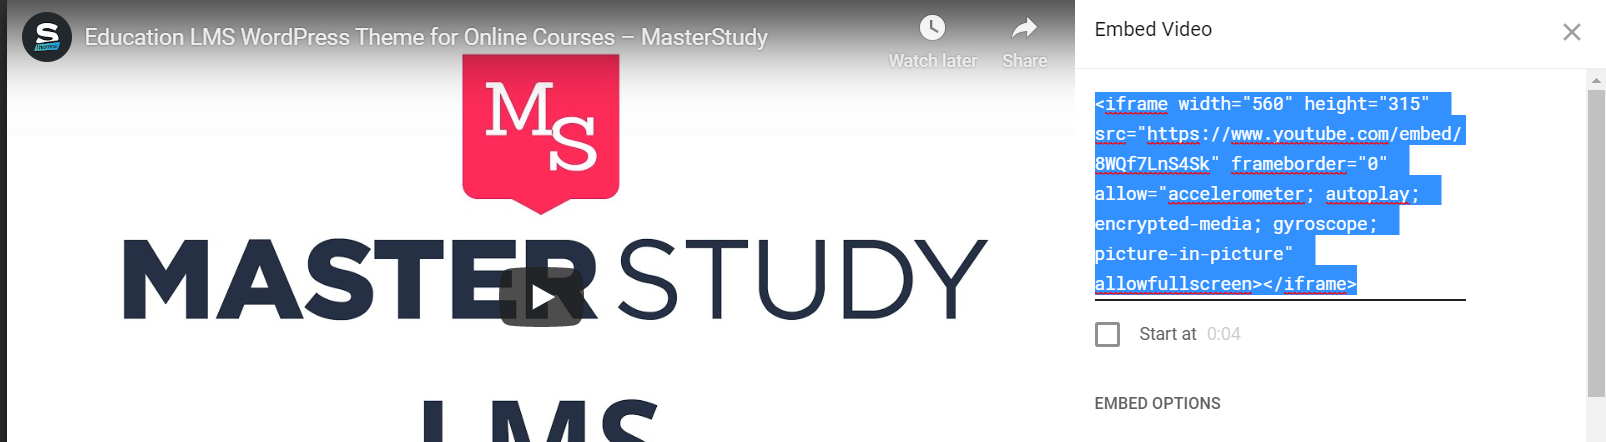
For example, you want to add a video from Youtube. Open the video page and find the Share button just under the player.
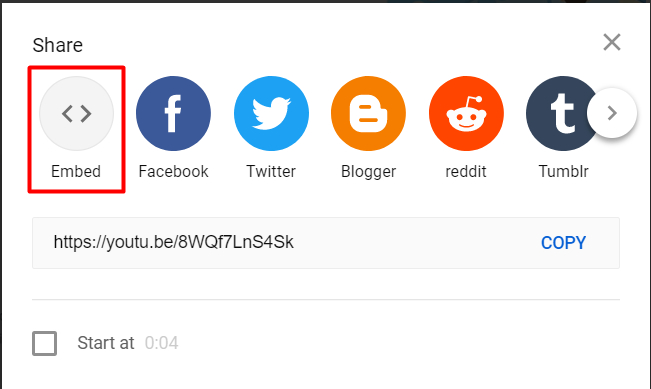
Click on it and from the provided options select Embed.
Select the URL as shown below, the link must include ‘embed’ word.
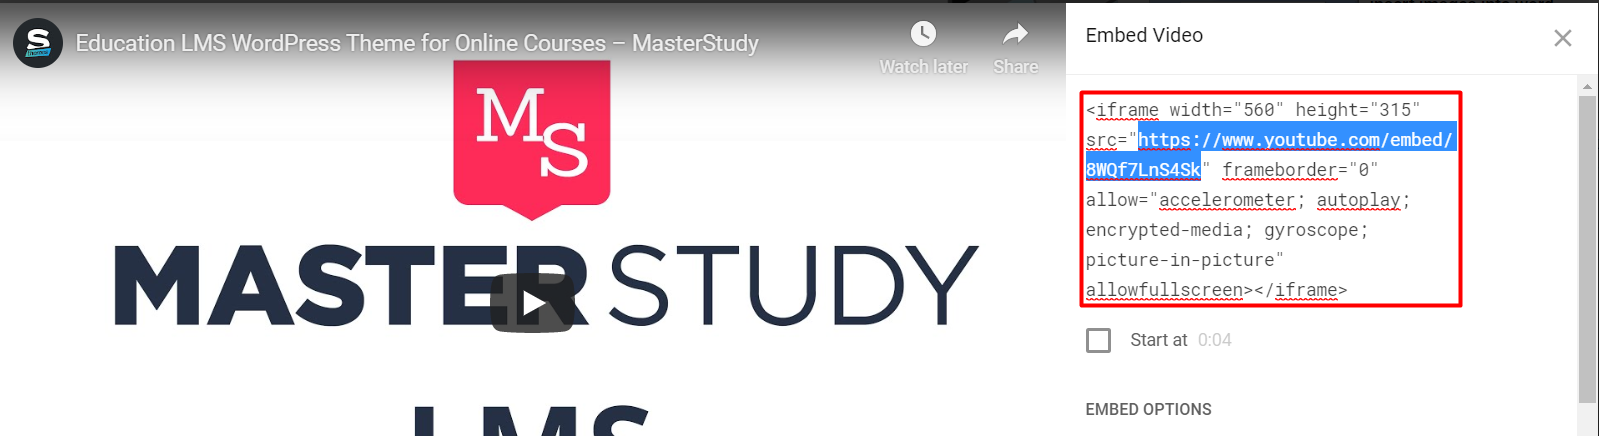
Copy and paste it into the Source.
Use the next option and open the Embed tab. For this time you need to copy the whole code and paste it into the field.
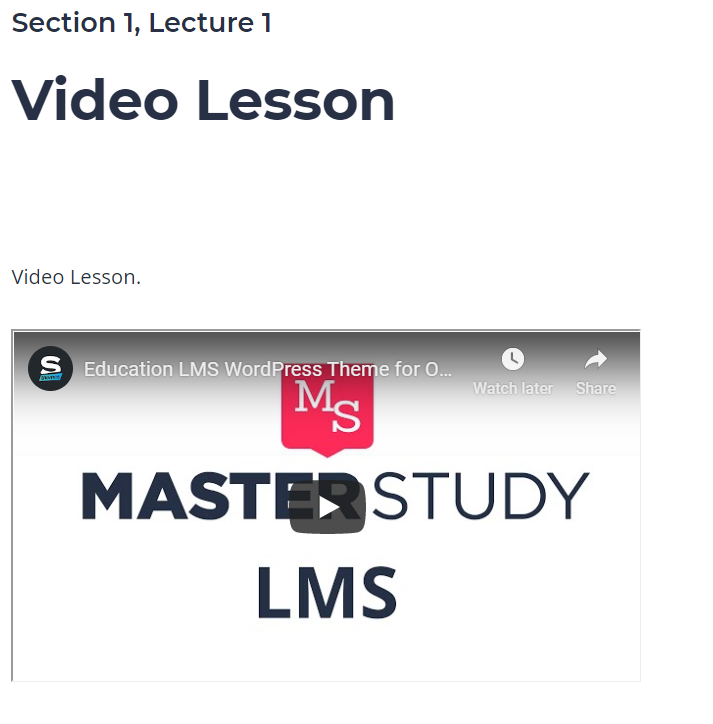
Save changes and check the display accuracy.
This is how your students will see the lesson with video embedded.
Direct Video Uploads
Instructors can use video content for video lessons.
For video type lessons instructors can use video files that they can upload directly to the website.
Please note: the load speed can be decreased after video upload depending on your server, check your parameters.
Important: The video upload is only active for Video Type lessons. Don’t forget to specify the lesson type.
Under the Lesson Video section just click on Choose File to select the file from your computer and upload it to the lesson.
The process is similar for both backend and frontend course builder.

—————————————

Using the frontend course builder, just open the Curriculum, select the lesson to edit and open Lesson settings.

Also, students can continue watching the video from the point they stopped before, so even returning to the lesson day after they still can continue from the minute they left.